Getting Started
The basics of getting your new build moving on its own. If you followed along with the Mostly Printed CNC or LowRider CNC instructions this all should have been covered already.
Firmware
If you bought a system from V1E.com the firmware is pre-loaded, and you do not need to make any changes.
Marlin or FluidNC is the firmware currently used and it is pre-flashed on the control board included in the kit. If you are building your own feel free to use any board and or firmware you want.
Testing
Wth your new machine built that first start up can have a bit of a pucker factor. If you bought a board from V1E.com follow the specifics for your exact board in the “Control, Control Boards” section. If you are using your own electronics here are the basics.
Move your gantry to the center of your build space and make sure the z axis is roughly centered in its travel. You never know which way it’s going to go!
You can now use the control for your board to manually move the machine. Typically there are arrows allow for .1, 1, 10, 50mm movements. Start small 1 mm at a time. The arrows should move it in that direction.
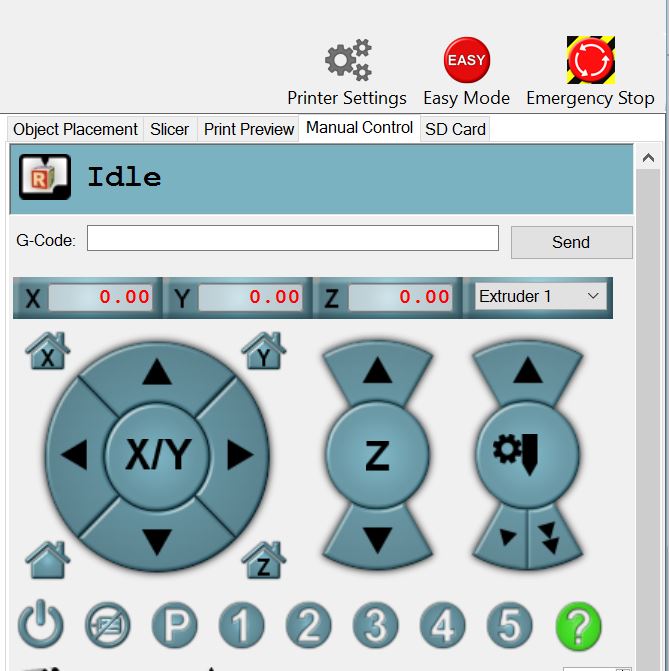
Look for something like this or a menu for moving each axis if you are using an LCD screen.
- X positive (Right arrow) should move Right, X negative should move Left,
- Y positive (up arrow) is back or away from you, Y negative is towards you.
- Z positive (Z up arrow) moves the z axis up (or the printer bed down), meaning the tool away from the work surface.
If it doesn’t move as expected hit disconnect, unplug the power and USB, any axis that is moving the wrong way simply flip the plug. If one stepper is moving the wrong way power down and flip it’s plug. Power back up and test again.
Never plug or unplug anything into the control board while there is any power, USB or power plug!
CNC Step 1 – First Use
Now the machine should be moving around and once you finally get bored of manually moving it around it is time to put it to work!
Let’s start with ESTLCAM I have put together a little walk through using Estlcam as a plotter. So strap on a pen, (or a “spindle” if you know what you’re doing).
The infamous Crown…Follow the Basic instructions on how to actually use the machine. Test code available at the bottom of that page. If you ask for help I will ask about your crown test.
CNC Step 2 – Getting dirty
Now the machine can draw pictures it is time to get it dirty. Hope you didn’t make a white one…
When you are ready to try and cut something, here are some Milling Basics.